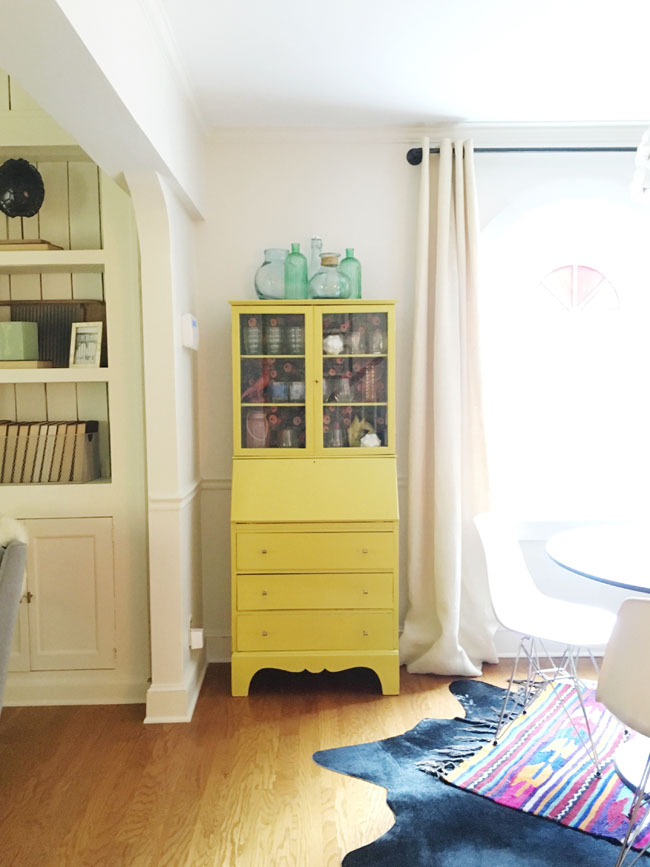
When we first moved into our current house close to downtown Greenville in 2015 we immediately began an overhaul of most of the rooms, painting, ripping up floors and taking down walls. One of the projects I knew I wanted to DIY was window hardware. We have two large scale windows, one is about 10 feet wide and the other is about 6 feet wide. Curtain hardware can get so expensive so I started looking for a cost effective (but sturdy) solution and decided on DIY pipe window hardware. It ended up being an easy project that gave us a fun industrial look and the total cost for the three windows we did was less than $150 which was great considering how large our windows are.
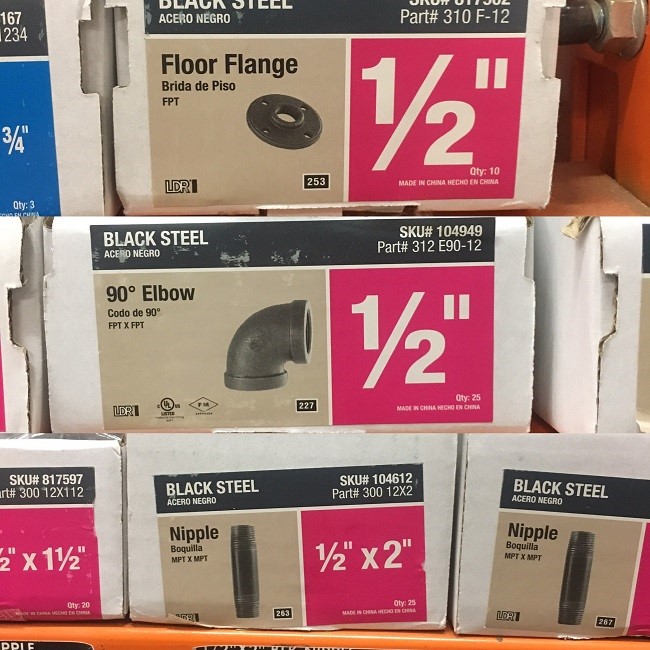
We got all our supplies at Home Depot. We found that 1/2 pipe is a good scale and feels the most like typical window hardware. You will need (per window):
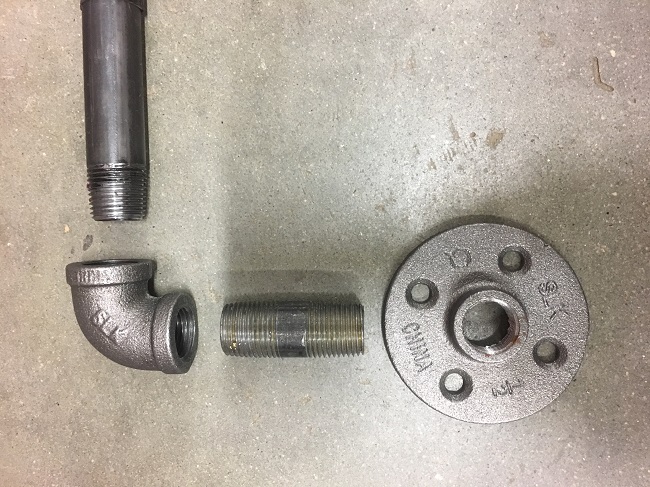
2 -1/2 inch floor flanges
2 -1/2 inch 90 degree elbows
2 -1/2 inch 1/2 x 2 (or desired height) nipples
1/2 pipe in your desired length (there is lots of precut pipe in different lengths and you can cut your own on site. We cut our own since we needed such long lengths.)
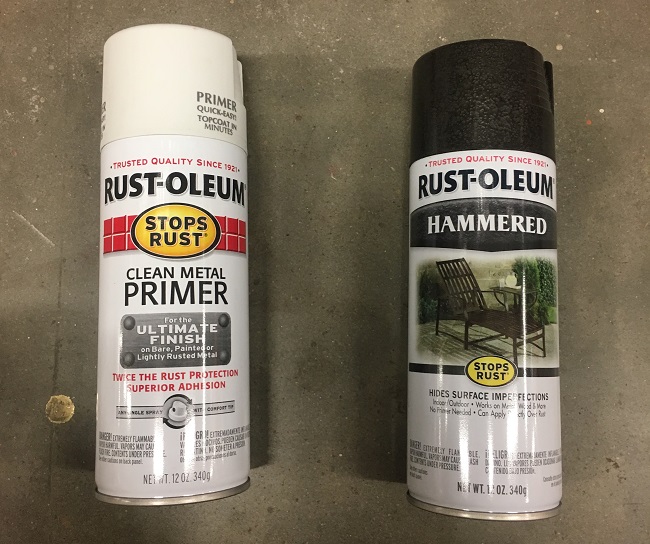
Clean metal spray paint primer (I have spray painted lots of metal and found the finish holds so much more if you prime it, so don’t skip this step!)
Spray Paint (This spray paint is my FAVORITE for metal. It gives it a true metal looking finish and the finish is super durable. My window hardware has been installed for almost two years and I haven’t noticed any scratches even with pulling the drapes open and shut almost every day!)
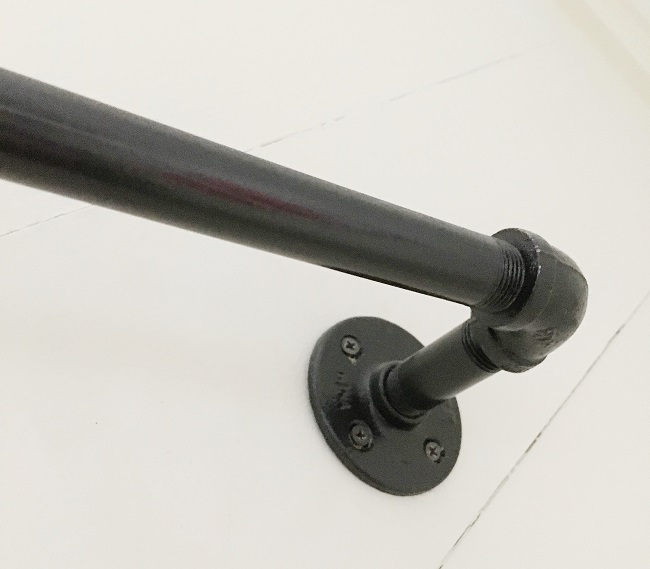
Once you have all your pieces go ahead and assemble and paint the hardware. I found its easier to assemble, paint and then unscrew one side to get your drapes on, rescrew and then install.
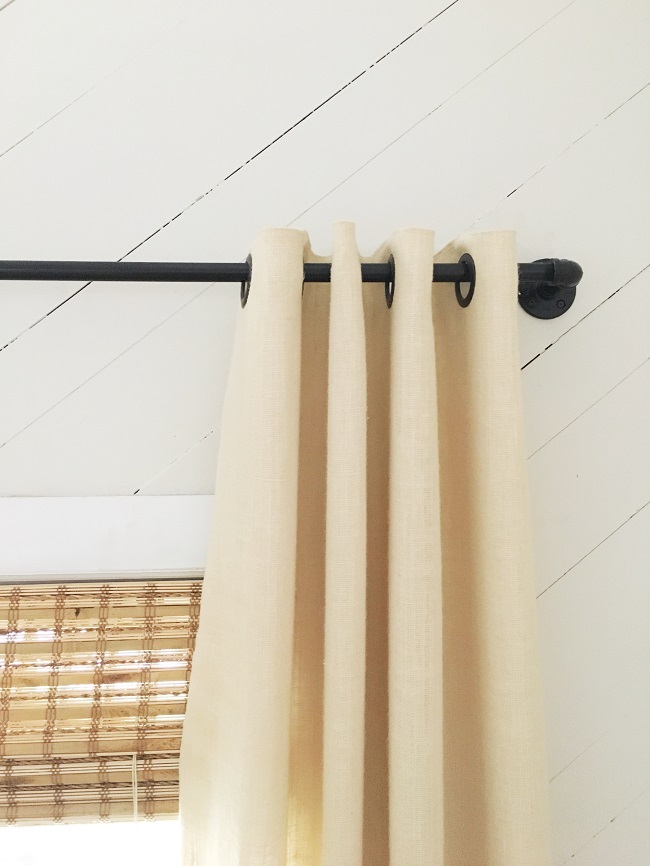
I do strongly recommend to screw these rods into a stud. The metal can get heavy and my worst nightmare was one of my toddlers pulling down the rod on their head when they try to swing from the curtain panels in their room. If you have a super long span you can add a center support in the middle but our screwed directly into wood paneling and it was strong enough to hold the weight.
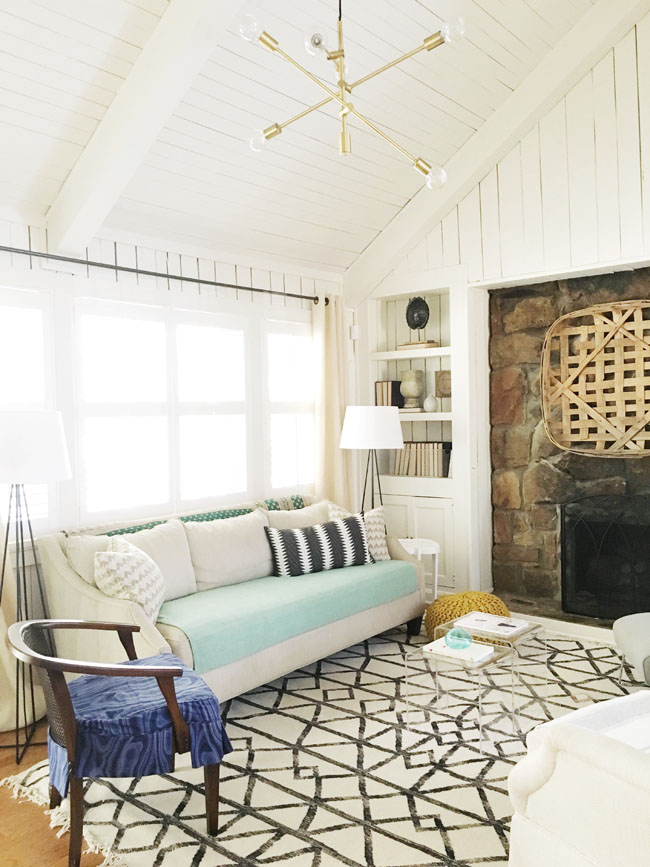
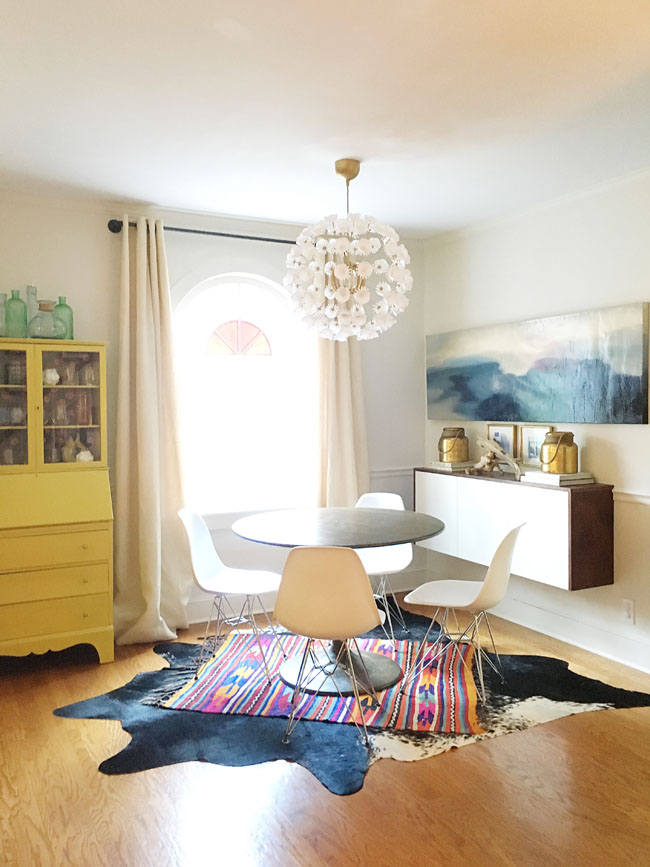
We installed the rods in our living room, dining room and our twin’s nursery and they have held up perfectly for almost 2 years. It was an easy DIY that saved us a lot of money and I love the look!
Are you considering giving this DIY a go? Let me know if you tackle it and follow along on all our renovation projects at A Creative Day.
Things To Do in Greenville SC

Footer
GREENVILLE360
Find the best things to do in Greenville, SC. Greenville360 is here to provide a list of events, special attractions and local businesses you should definitely check out. Let’s explore Greenville, together!
To advertise:
Email: info@greenville360.com
Call: (864) 735-8461
Tag Us #greenville360
Leave a Reply